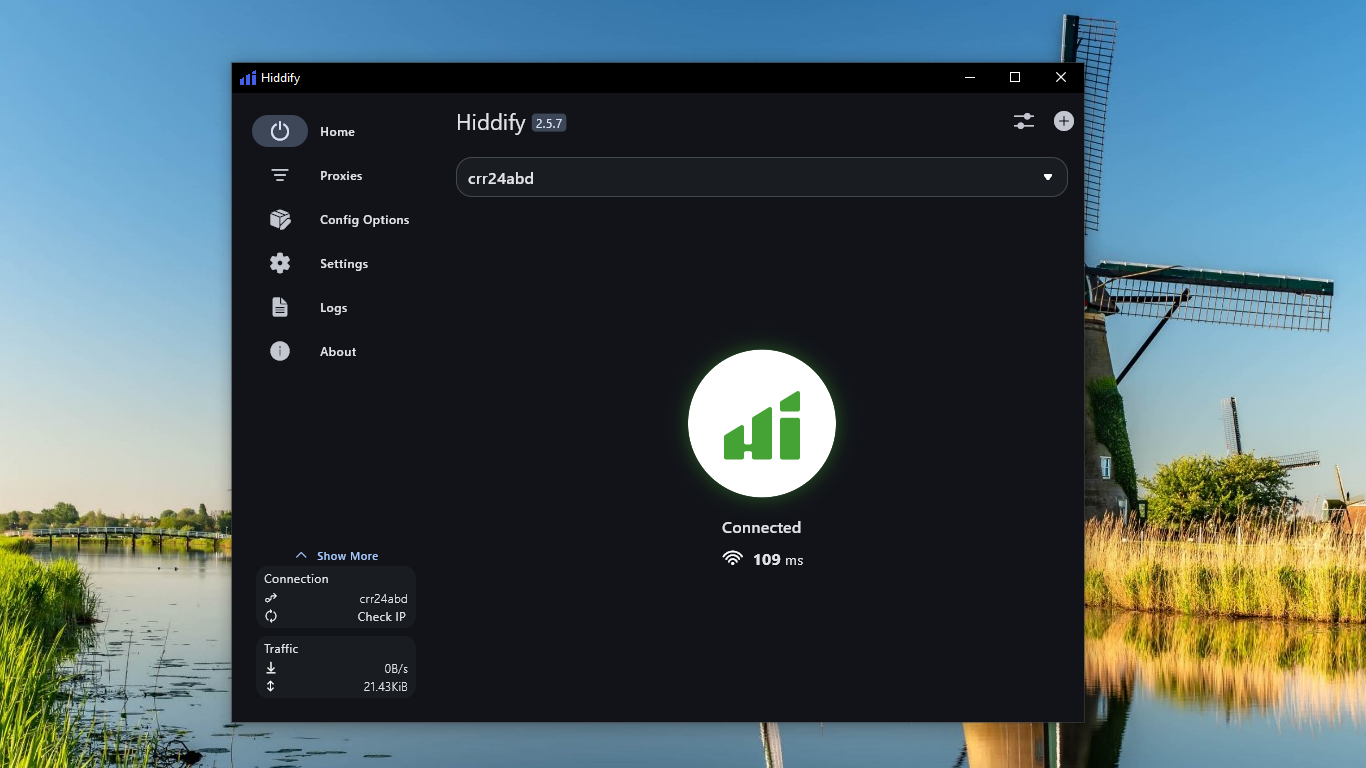
Latest recommendations for 3x-ui and hiddify-app
November 2024
Previous tutorials gave instructions for command-line implementations of Xray without the use of panels or scripts. This gives you the most control over your configuration.
This tutorial is for you if you prefer to use a graphical user interface (GUI). The page that follows describes how to implement Xray with the 3x-ui server panel and the hiddify-app client.
Set up VPS
1. Previous tutorials assumed you would purchase a domain name. This tutorial is slightly more economical. You will use a self-signed SSL certificate. If you go with this arrangement, you do not need to purchase a domain name.
2. Purchase a virtual private server (VPS) with Debian or Ubuntu operating system. Preferably choose a VPS provider that allows you easily to change your server's IP address.
3. SSH into your server. You can do this in Windows PowerShell or in Terminal on Linux or macOS. For example, if your server IP address is 123.45.67.89 and you are logging in as root, then the command would be:
ssh root@123.45.67.89
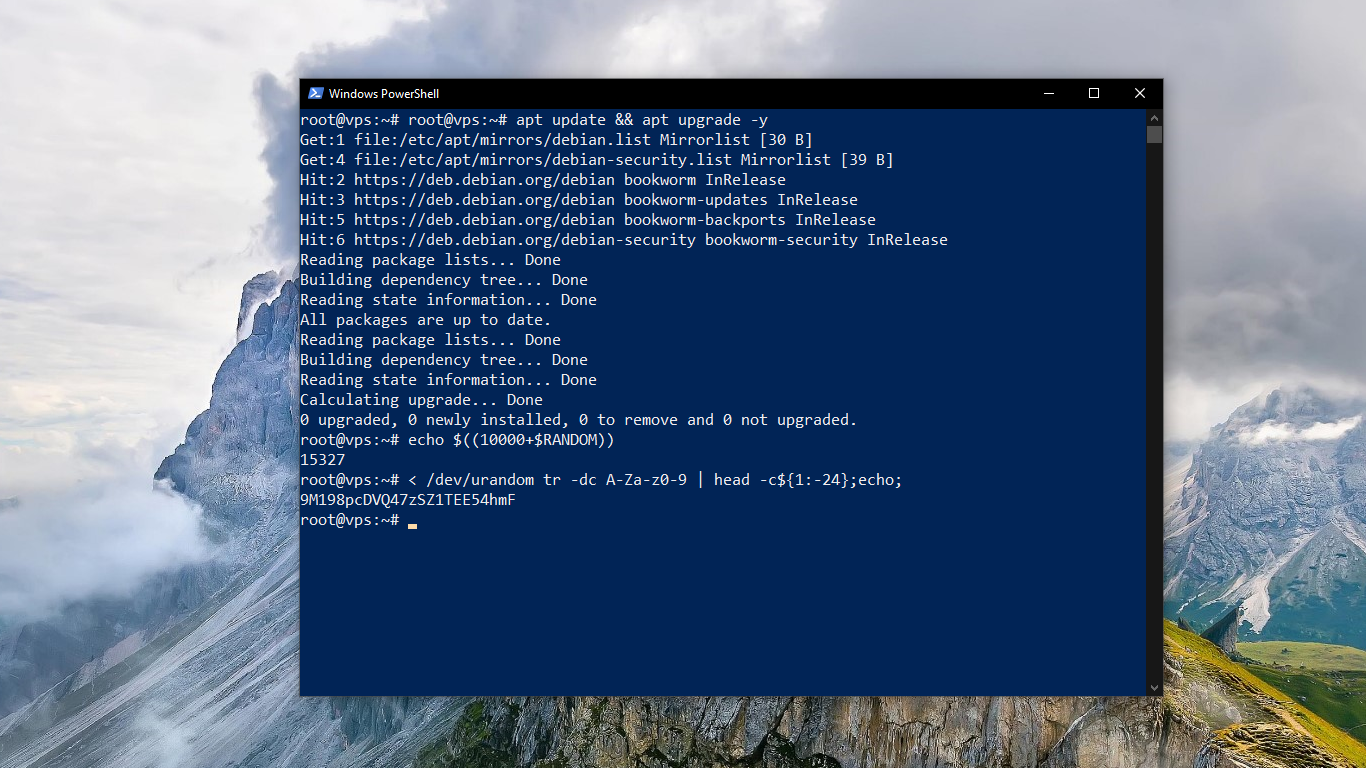
4. Update the server:
apt update && apt upgrade -y
Generate panel port and permanent password
5. Generate a pseudorandom port number for panel access:
echo $((10000+$RANDOM))
Example results:
15327
6. Generate a 24-character permanent password for the panel administrator. The permanent password will be used only after your panel is secured with https.
< /dev/urandom tr -dc A-Za-z0-9 | head -c${1:-24};echo;
Example results:
9M198pcDVQ47zSZ1TEE54hmF
Generate self-signed SSL certificate
7. On your VPS, generate a self-signed SSL key and certificate valid for the next 10 years:
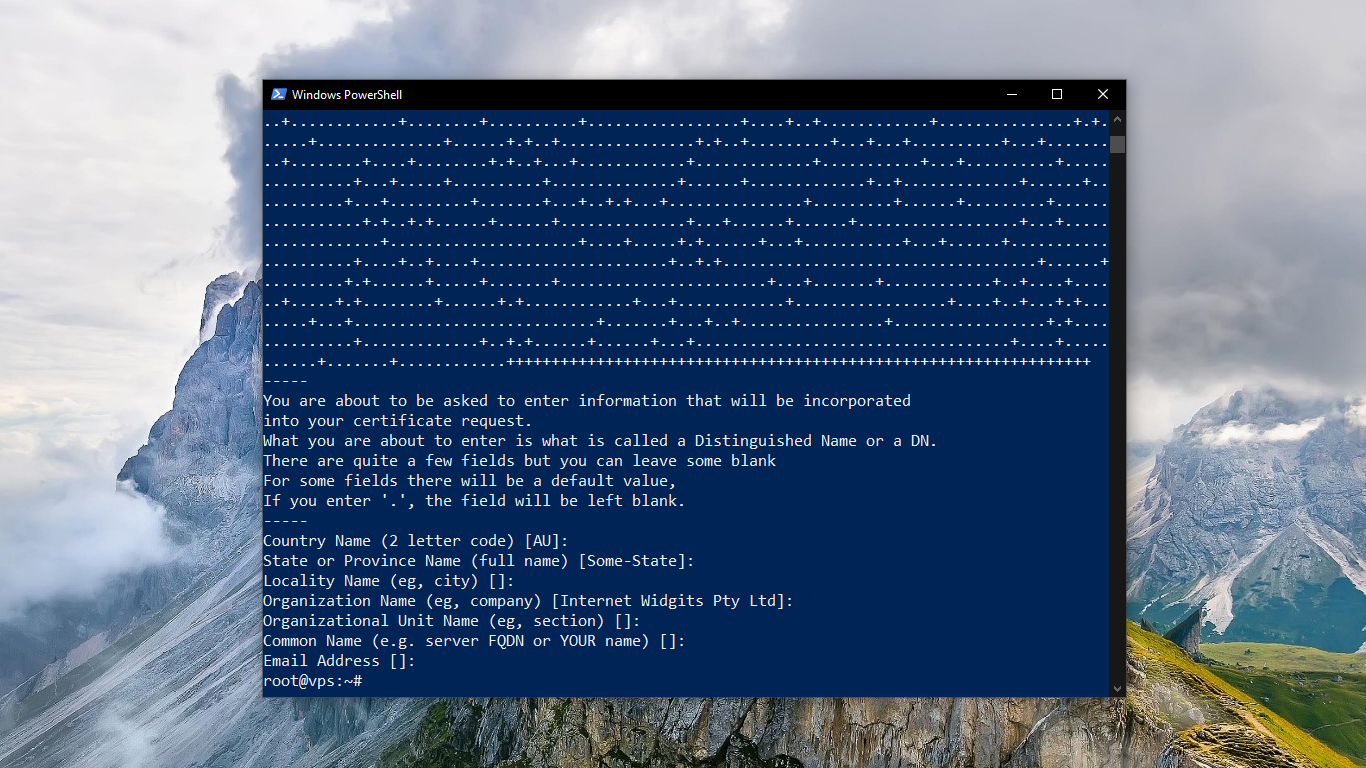
openssl req -x509 -keyout /etc/ssl/certs/3x-ui.key -out /etc/ssl/certs/3x-ui.pem -newkey rsa:4096 -sha256 -days 3650 -nodes -new
openssl will prompt you with questions about the certificate (Country Name, State or Province Name, Locality Name, Organization Name, Organizational Unit Name, Common Name, and Email Address). Just press Enter to all the questions to accept the default answers.
Install the 3x-ui panel
8. Open your server firewall for input on your panel port. Some VPS providers call this adding a security group. In our example, the port to open is tcp/15327.
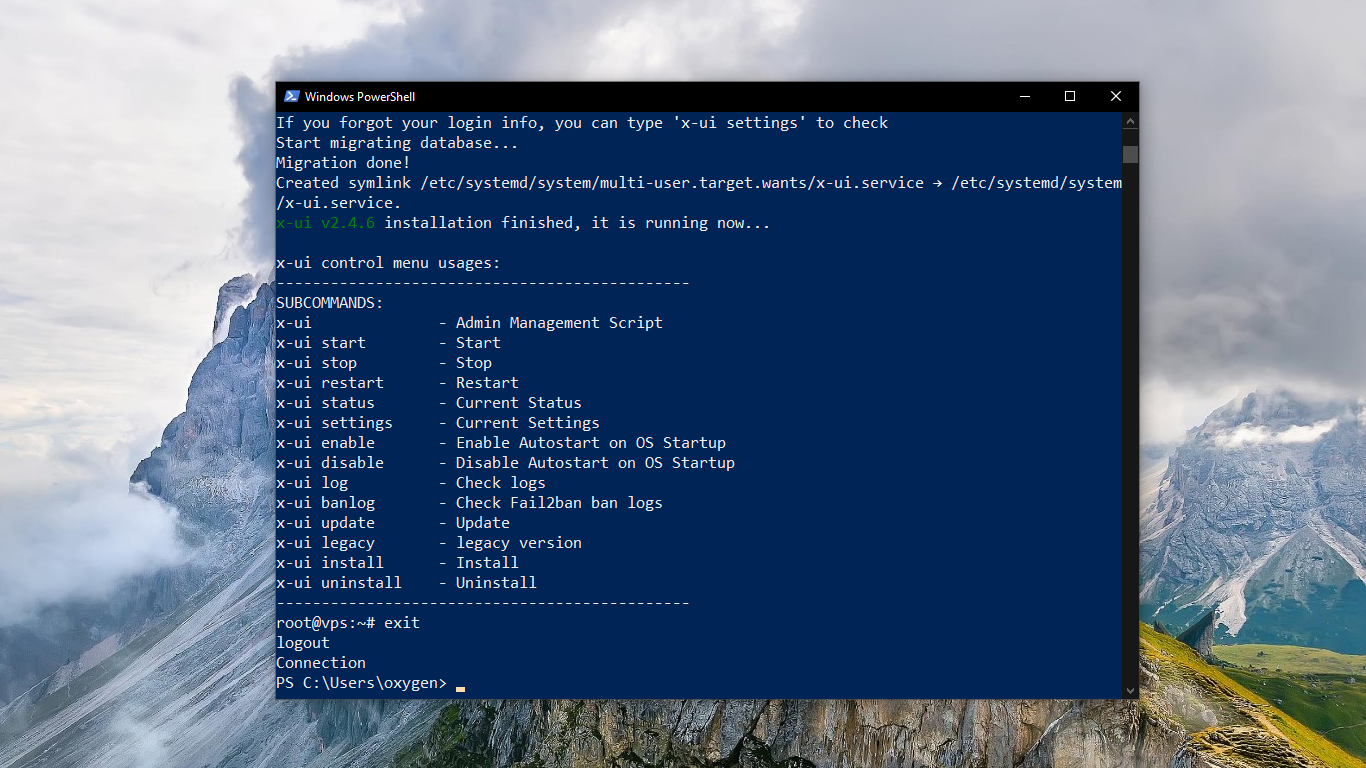
9. Install the 3x-ui panel using the command below, which is taken from the project's README:
bash <(curl -Ls https://raw.githubusercontent.com/mhsanaei/3x-ui/master/install.sh)
10. When asked if you want to customize the panel port, enter y for yes.
11. Enter your generated panel port (e.g. 15327).
12. The script displays the port settings, for example:
Username: QYrfO97B6g
Password: 0zVvxnDtzh
Port: 15327
WebBasePath: BTK507kO1Km320u
Access URL: http://123.45.67.89:15327/BTK507kO1Km320u
13. Copy these values into a text editor such as Windows Notepad.
14. Exit your SSH session with your server.
exit
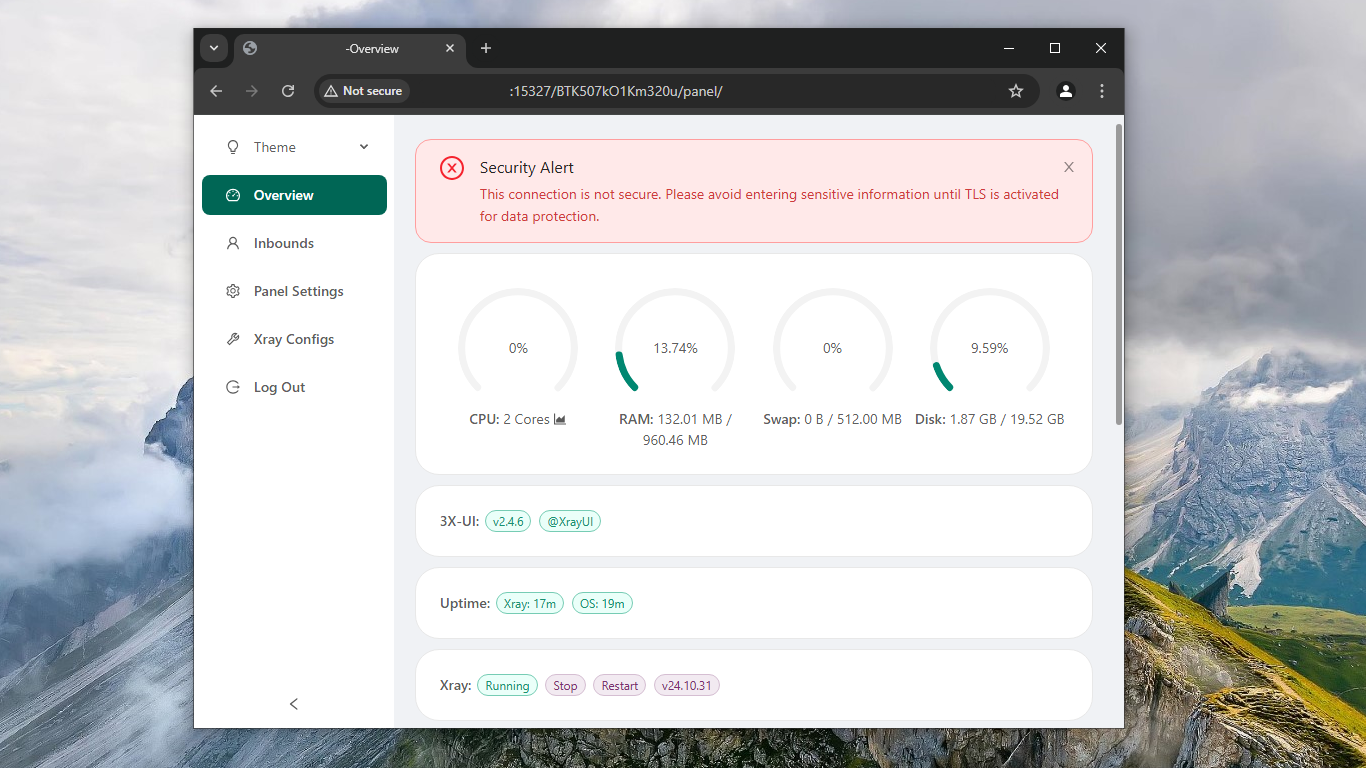
Log on to the panel for the first time
15. On your PC, open a web browser such as Google Chrome.
16. In the address bar, navigate to your server's IP address, your generated port, and your secret path. Example:
http://123.45.67.89:15327/BTK507kO1Km320u
17. Log in with your administator id and your temporary password. Examples:
QYrfO97B6g
0zVvxnDtzh
Secure the panel
18. Go to Panel Settings > General.
19. Enter your values for Public Key (i.e. certificate) path (/etc/ssl/certs/3x-ui.pem) and Private Key path (/etc/ssl/certs/3x-ui.key).
20. Click Save, Restart Panel, and Sure.
21. Accept the self-signed SSL certificate. Depending on which browser you are using, you will need to click buttons named something like Advanced and Proceed.
22. Go to Panel Settings > Authentication.
23. Now that you are protected by https, enter your username, your original password, you username again, and your permanent password (e.g. 9M198pcDVQ47zSZ1TEE54hmF).
24. Click Confirm.
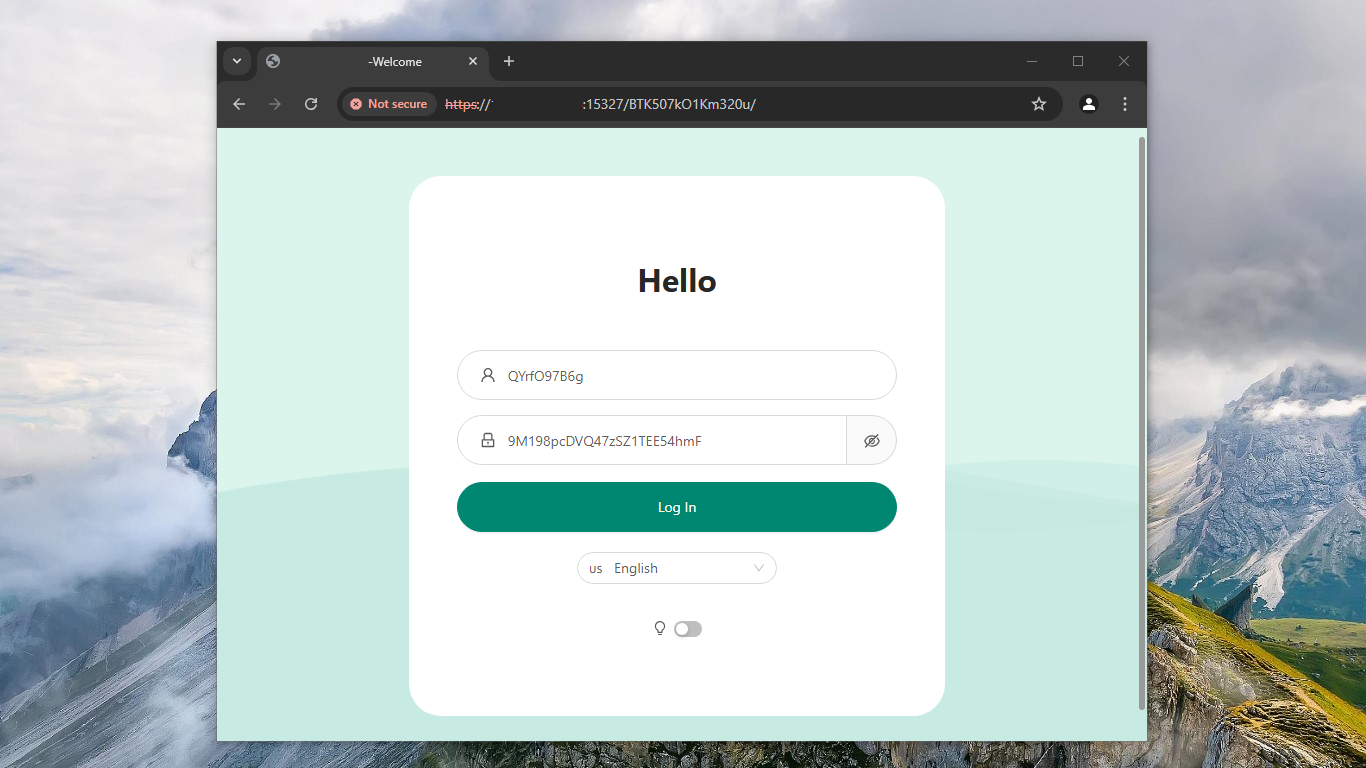
25. Log in to the panel with your administrator username and permanent password. Examples:
QYrfO97B6g
9M198pcDVQ47zSZ1TEE54hmF
Block your own country's domains and IP addresses
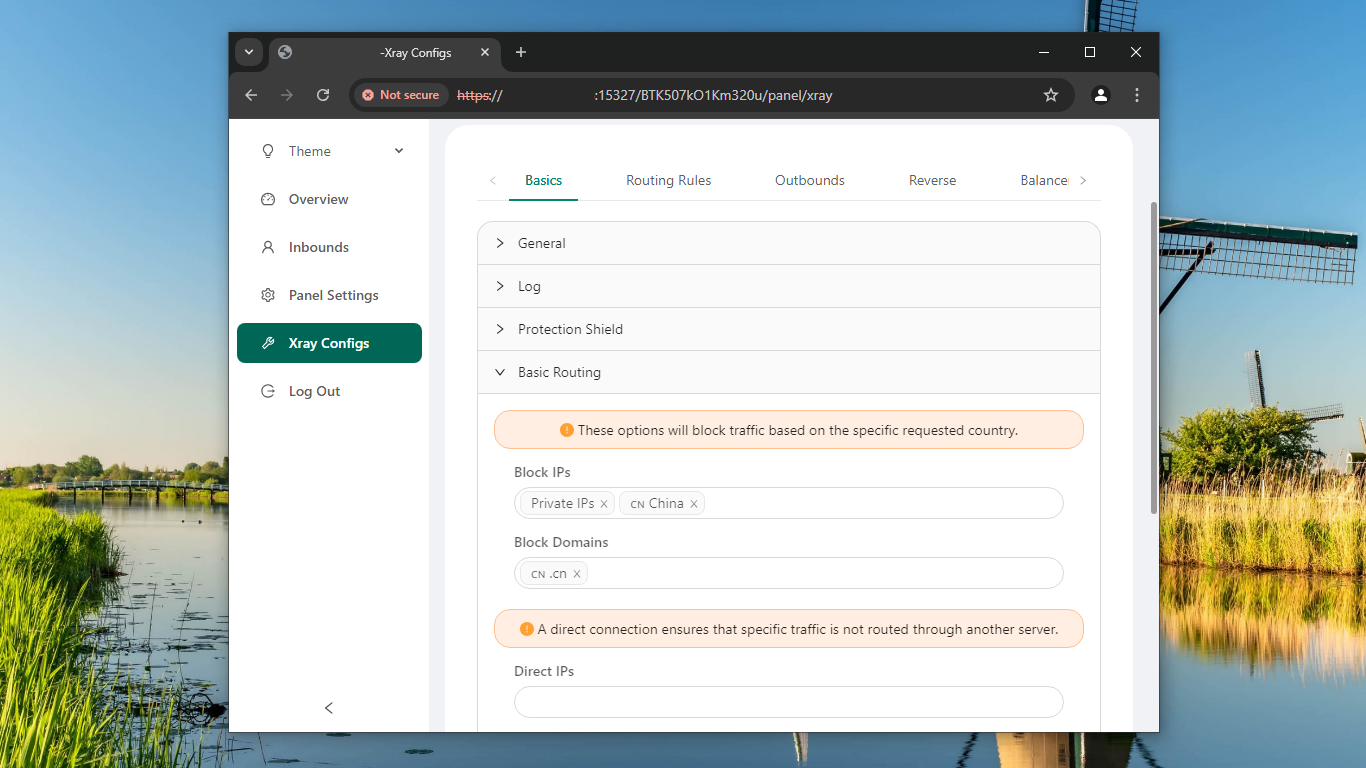
26. If you are in a country with a sophisticated firewall (China, Russia, Iran, etc.), go to Xray Configs > Basics > Basic Routing.
27. Under Block IPs, enable blocking of your own country's IPs. This is to prevent correlation detection by the firewall.
28. Under Block Domains, enable blocking of your own country's domains.
29. Click Save and Restart Xray.
Configure VLESS-Vision-REALITY server and add first client
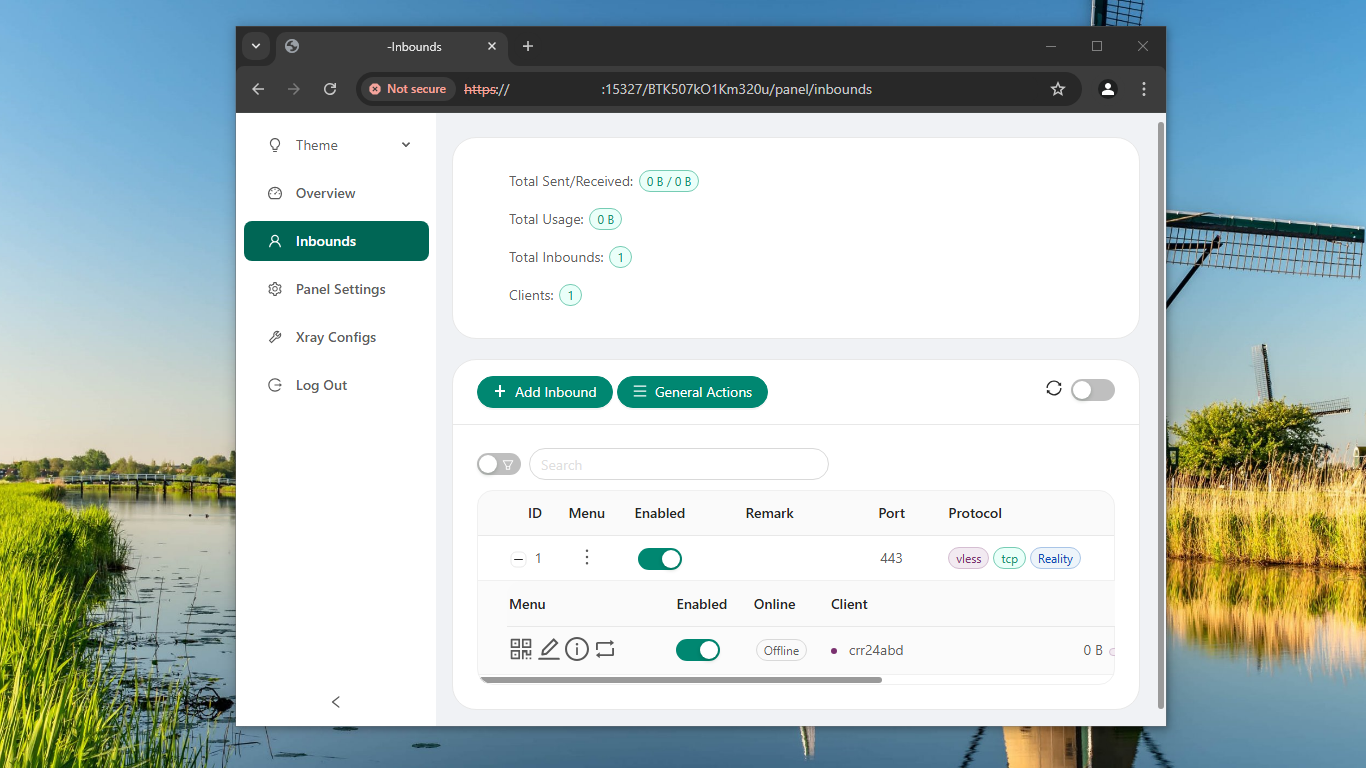
30. Go to Inbounds.
31. Click + Add Inbound.
32. Enter values for:
- Protocol
vless - Port
443(which must be open in your server's firewall) - Security
Reality - Expand Client, enter an email or other user id or just accept the default, then select flow
xtls-rprx-vision - Enter uTLS browser fingerprint simulation, e.g.
chrome - Dest (target), e.g.
yahoo.com:443 - SNI, e.g.
yahoo.com,www.yahoo.com
You need a destination and corresponding SNI that work in your country. Here are some examples you can try.
www.samsung.com:443www.asus.com:443www.amd.com:443www.cisco.com:443www.microsoft.com:443www.linksys.com:443www.nvidia.com:443
33. Click Get New Cert to generate a public-private key pair.
34. Click Create.
35. Under ID click the + sign to expand, then click the QR code icon to display the QR code for that user's client app.
36. Click the information sign ⓘ to see the vless:// URL for that user's client app. Copy the vless:// URL to your PC clipboard, as you will need it in a moment.
Install the Hiddify client app on Windows
37. Open a new browser tab.
38. Visit https://github.com/hiddify/hiddify-app.
39. Go to the Releases page.
40. In the section for the newest release, download Windows Setup x64.
41. Run the downloaded installer Hiddify-Windows-Setup-x64.exe.
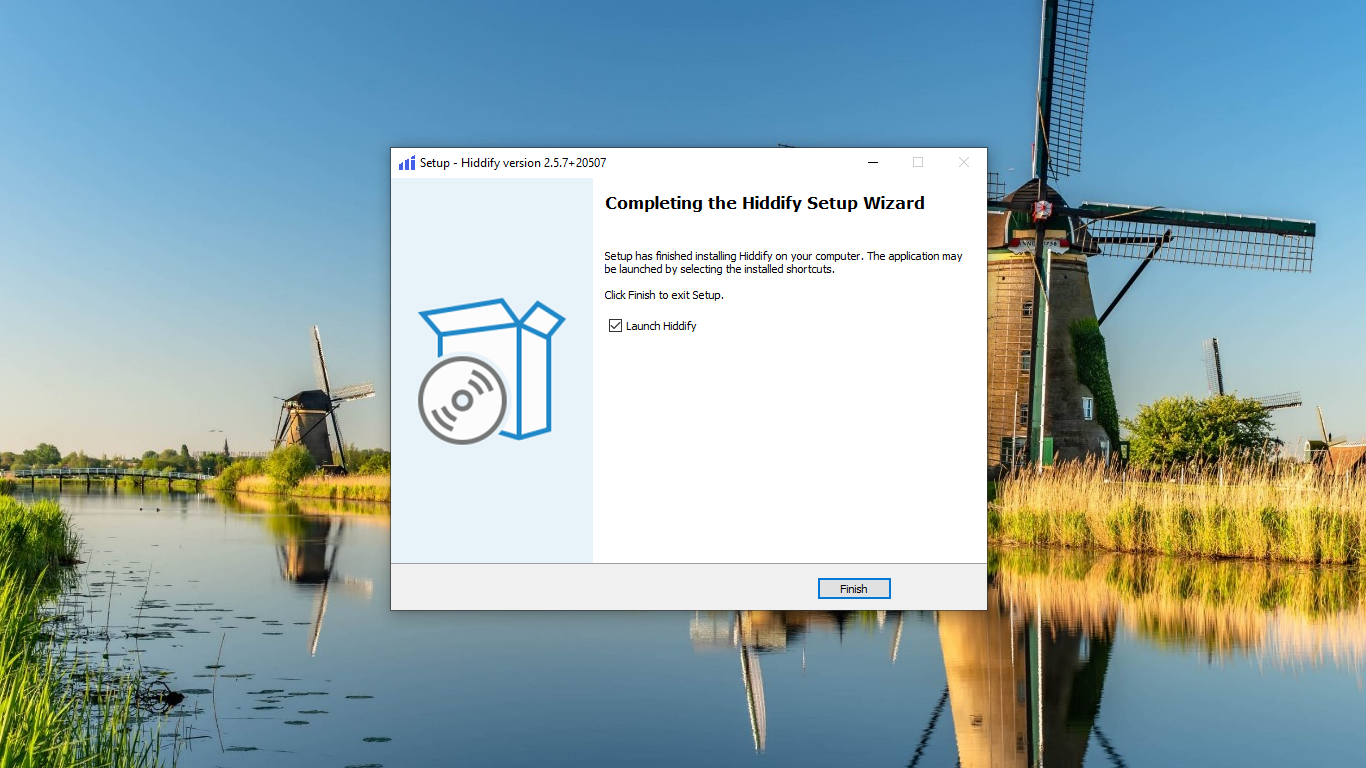
Run the Hiddify client app on Windows
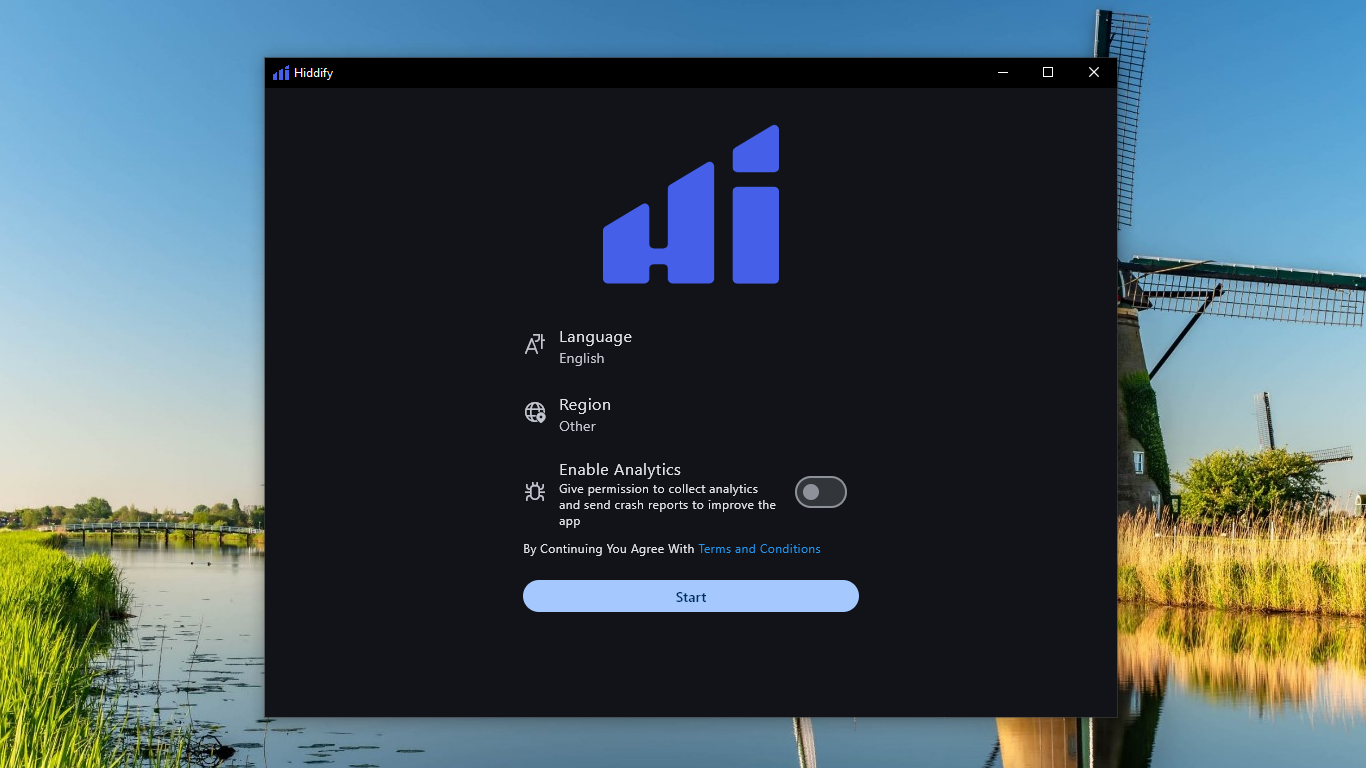
42. Start the Hiddify app for the first time. Select language, region, analytics, and press Start.
43. Add the client configuration vless:// URL, and click Tap to Connect.
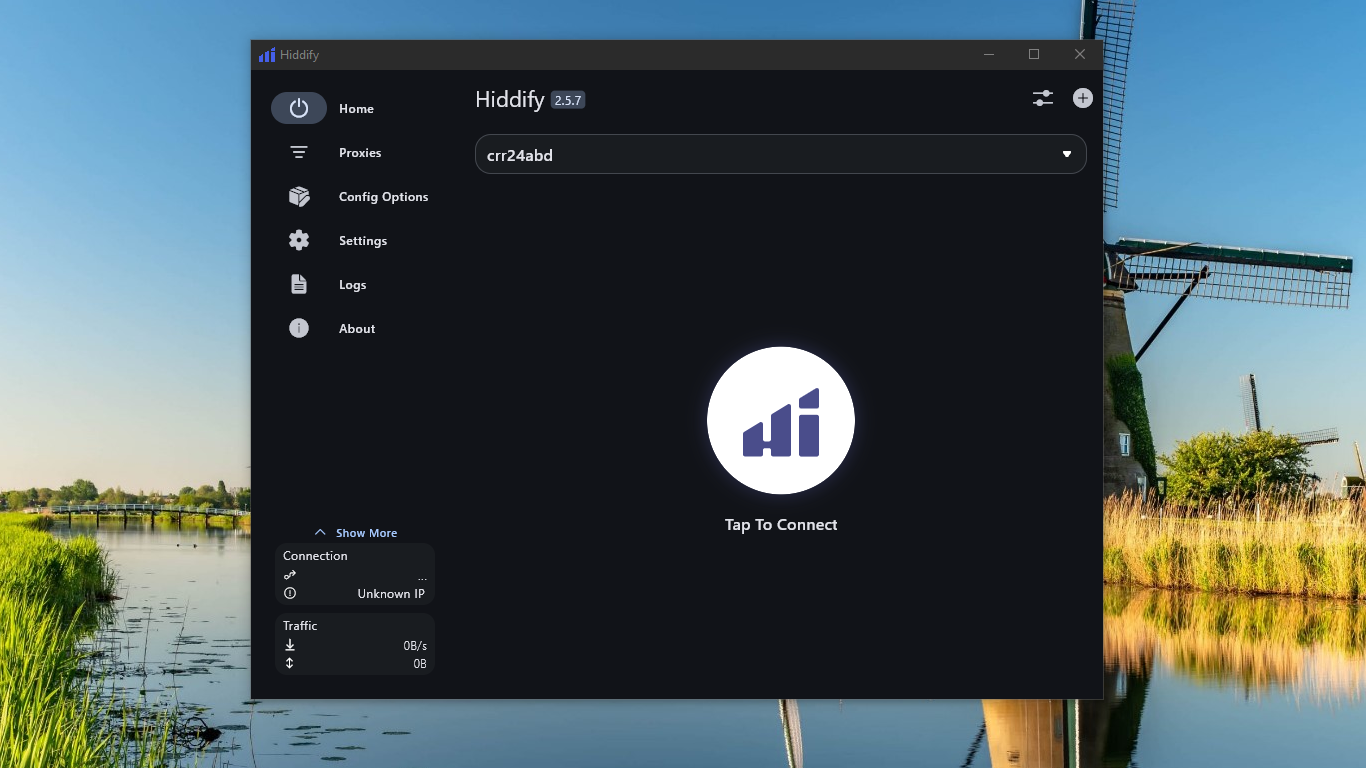
44. The connection is made.
